
Topic Contents Hide
While POIs (Points of Interest) and Waypoints are both used to mark a single specific location, there are some significant differences between Waypoints and POIs:
You may occasionally hear of "Rich POIs". Rich POI is a term used to describe a POI which has more information associated with it. An example might be:
In a lot of GPS software (including Hema Explorer), there are two differing types of waypoints.
Standalone waypoints are those created as single points which are not attached to any other entity within the software.
Route waypoints are those which are created during the course of creating a route, and are part of the route in question.
POI display is controlled by the POI Panel on the Layers panel.

Open the Layers panel by tapping the Layers button at top-right of the screen.
The POI controls are located at the bottom of the Layers panel. Scroll down if necessary to show the controls.
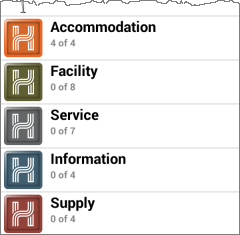
Each section on the panel shows a category. The number shown within the category name indicates how many sub-categories within that category are currently switched on.
By default, all POI categories are active. That is, POIs will be displayed overlaid on the map for ALL categories.
You can turn off specific sub-categories, or ALL POIs within a category from the Point of Interest panel.
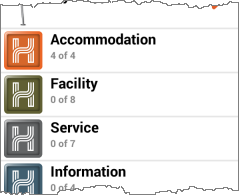
You can toggle the status of each category as a whole by tapping-and-holding on the category name. In the example shown below, we have switched off all but the Accommodation category, as shown by the indicator 4 of 4 for Accommodation. The other categories all show 0 of ...
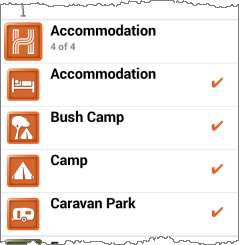
Tapping a category expands that category to show the sub-categories within the category. The Accommodation sub-categories are shown in the example below. Note that sub-categories which are switched ON are those marked with a tick.
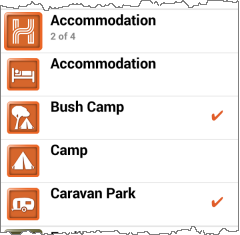
You can switch off any sub-category by tapping anywhere on the sub-category line. The example below shows the "Accommodation" and "Camp" sub-categories have been switched off. Notice that the tick mark is no longer shown against the switched-off sub-categories, and the number adjacent to the category name shows 2 of 4, indicating that out of a total of 4 sub-categories, only 2 are active.
The POIs which come as part of the app are divided into categories and sub-categories. The categories and sub-categories are listed below.
A legend can be displayed showing all icons for POI categories and sub-categories.
See the Legends topic for details.
Tapping a POI icon will pop up the POI Nametag for the POI which you tapped on.
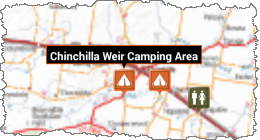
The POI nametag shows the name of the POI. Only ONE POI OR Waypoint nametag can be displayed on screen at once.
Tapping the POI nametag will open the Point of Interest Details panel.
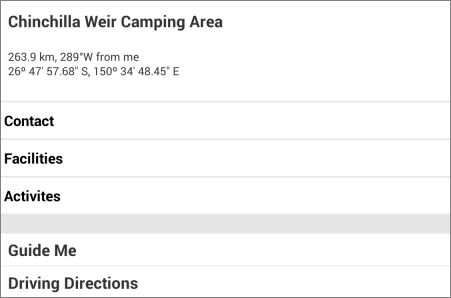
The Point of Interest details panel displays information related to the selected POI, as well as providing actions which can be performed against the selected POI.
Tapping any of the detail headers shown below will expand the panel to show the relevant detail pane.
Each of these items is discussed in more detail below.

The top part of the Point of Interest details panel has a pane which displays the following information
The name of the selected POI
The panel displayed next to the POI Preview shows two lines of information as follows:
The Contacts pane will expand when tapped to display contact information for the selected POI.

The contact information available will depend on the POI selected, but may include some or all of the following:
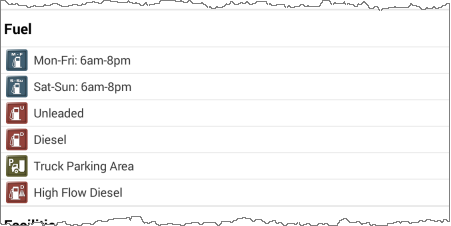
The Fuel pane will expand when tapped to display more detailed fuel information for the selected POI.
The pane provides information related to opening hours (if known), and which types of fuel are available at the selected POI. An example is shown below.
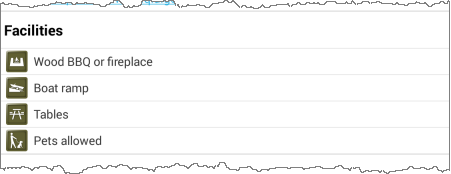
The Facilities panel shows facilities which are available at the selected POI. An example is shown below.
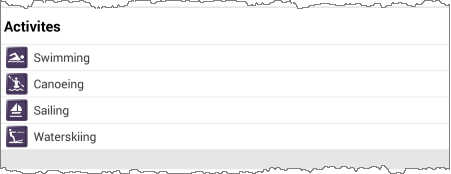
The Activities pane shows activities which may be available at the selected POI. An example is shown below.

The POI Info pane also contains a number of options which allow you to interact with the POI.
Each of these items is discussed in more detail below.
The Guide Me option will create an as-the-crow-flies track to follow to get to the POI. This works in the same way as directions to a user-created waypoint.
As soon as you begin the Guide Me process, the active destination will appear in the data panel at the lower-left corner of the screen, as shown below.

The panel shows the following information:
If you do NOT have a GPS fix, and you attempt to start a routing operation, the panel will not be able provide any guidance, as shown in the example below.


If you wish to cancel the currently active destination, tap the Cancel Go To button within the panel.
The Driving Directions option uses Google Maps or Apple Maps to provide you with a list of directions to follow to get to the selected POI from your current location. When tapped, either a panel will pop up showing driving directions, or the external app itself will open.
Depending on the apps you have installed, you may be prompted to choose which app you would like to use to produce a path between your current location and the selected POI.
Note that the functionality provided by these apps is external to the functionality within the Hema Explorer app, and we have no control over the functionality provided by external apps.