
When you tap the Download Map Section button under the My Map Downloads section of the Layers panel, you are prompted to choose what sort of download you want.
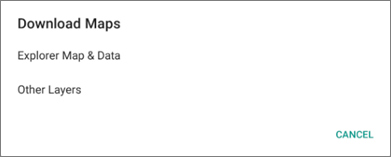
From the Download Map Section panel, you can choose:
The Explorer Map & Data option allows you to download segments of the Hema Explorer map layer. The interface is the same as the segment download interface you encountered earlier in using the app, during the First Time Startup of the app.
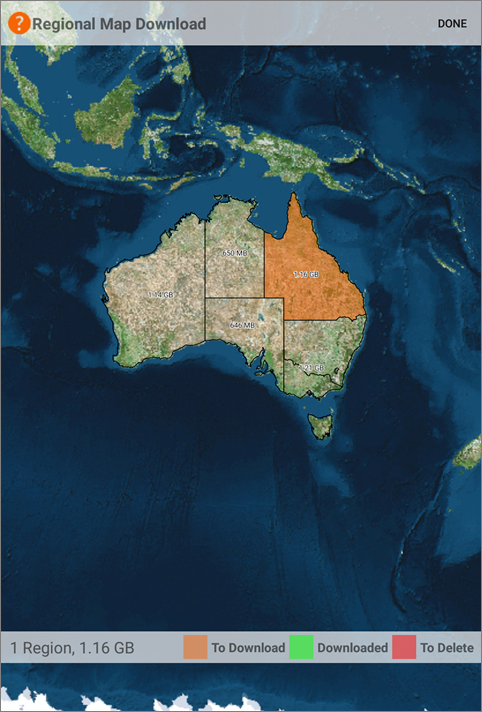
You can add and remove sections of the Hema Explorer map by tapping to add or remove the segments you want to download, or previously downloaded segments you now want to remove.
When you choose the Other Layers option from the Download Map Section button, you are presented with a list of map layers to choose from. The layers which appear here are those which are in the ACTIVE or AVAILABLE sections of the Layers panel.
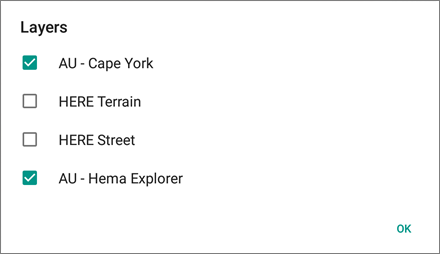
Click to add a tick next to each map layer you wish to download an area for.
Then tap the OK button.
Once you have chosen the layers required, you will see a screen showing a number of controls, as shown below:
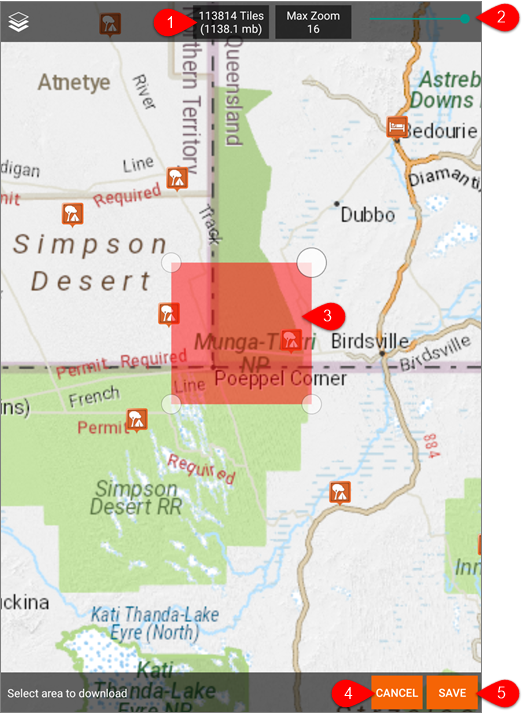
The controls on the screen as shown in the example above are:
Indicator showing the number of tiles, and the approximate amount of data required, to download the selected map layers, for the specified area, at the specified zoom level.
The larger the area, and the higher the zoom level, the bigger the download will be.
If this indicator turns red, the amount of data is too large to download in one go, and you will have to either:
The zoom slider determines the maximum zoom level for the map layer that you are downloading.
Drag the red box around by it's corner handles to select the area that you wish to download.
Remember if the Size indicator turns red, you are either trying to download too large an area, or too high a zoom level, or both.
Tap the Cancel button if you change your mind, and do not wish to continue downloading.
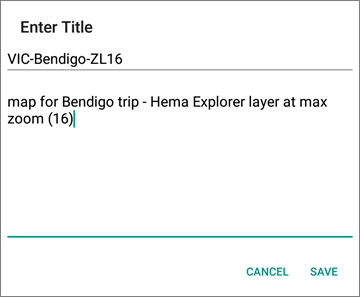
Tap the Save button when you are happy with the settings you have on this screen. When you tap the save button, you will be prompted to give your saved map a name, and optionally add some notes for your reference.
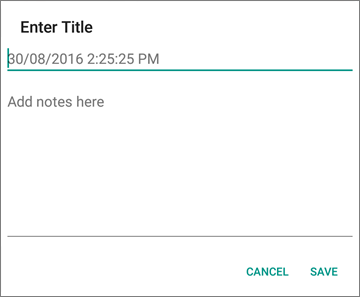
It is recommended to give your maps at least a name which helps identify it, as shown in the example below. When it comes time to clean up old map downloads, or those no longer required, it is easier if you can easily identify the content from the list of downloaded maps.
