First Time Startup

When you run the app for the first time, a process known as onboarding happens, whereby the app leads you through some initial settings.

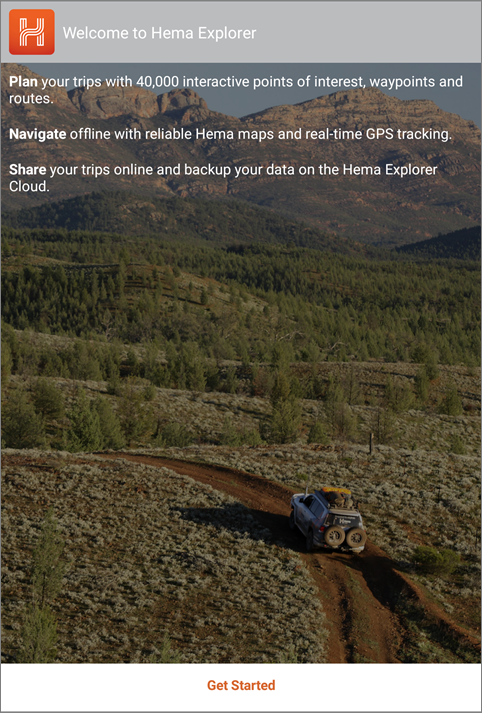
Welcome screen

Tap the Get Started button to begin the process.

Warning
Do not attempt downloads unless connected to a decent internet connection. If you are downloading maps or sections of maps, there could be a large amount of data which needs to be downloaded. Any large data downloads should be done while connected to a fast stable internet connection, for example, ADSL via WiFi at home.
Problems downloading data files are almost always caused by downloading over cellular (mobile) connections or poorly performing or mis-configured WiFi / Internet connections.
It is not wise to attempt large downloads while on a cellular connection, unless you are certain that your mobile plan has a large download limit, or that you are not risking reaching your limit. Your ISP may charge for excess data consumed on your plan, and these charges can sometimes be excessive.
It is up to you to monitor and manage your data on a mobile data plan.

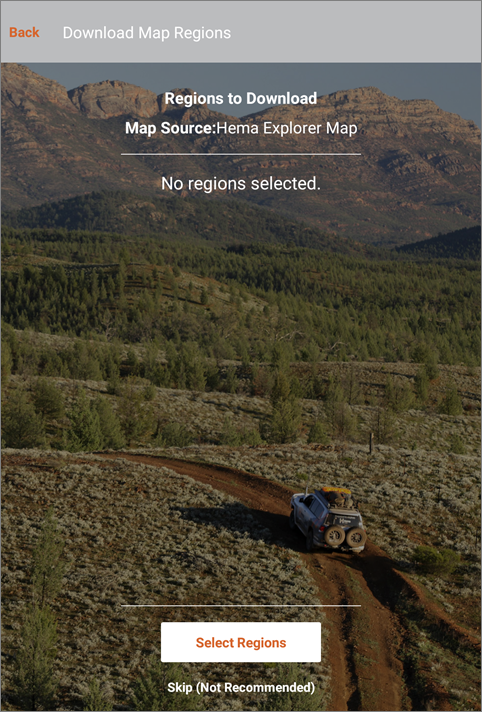
The first option is to allow selection of regions of the Hema Explorer map layer for offline use.

The Hema Explorer map layer is split into chunks or segments to make downloading easier. The segments defined for download for offline are:
  1. Western Australia
  2. Northern Territory
  3. Queensland
  4. New South Wales, Victoria & Tasmania
  5. South Australia

Download screen

Two prompts appear when you first enter the region select screen. The first asks you to allow the app to access your device's location (configured via Location settings on your device).

You must allow the app to access your location, otherwise, there is no way for the app to get the information it requires to figure out just where you are.

Location Access prompt

Tap the Allow button to give the app permission to access your device's location.

You must also allow the app to access the media storage on you device, as the app has the ability to store images, and load images to a waypoint, etc.

Media Access prompt

Tap the Allow button to give the app permission to access your device's media.
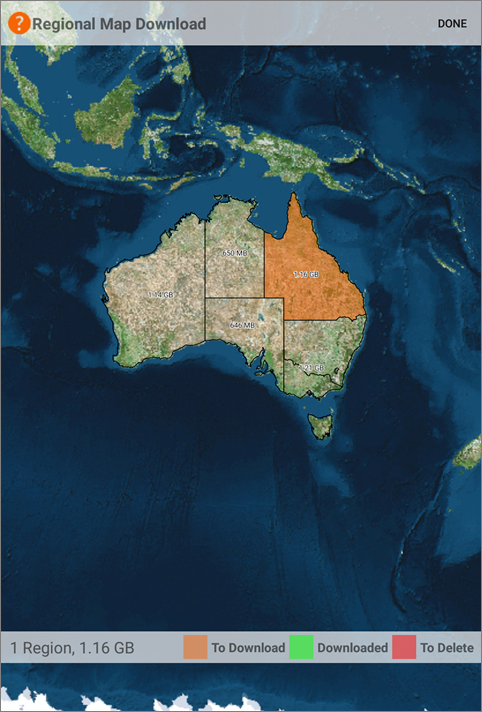
Regional Map Selection screen

For Your Information...
You may be tempted to download ALL regions straight away.
Be aware that each region will take a certain amount of time, consume a certain amount of data to download, and take up a significant amount of space on your device's storage.
If you are unlikely to travel to certain regions, then it is somewhat pointless to download the map layer region for that area.
This is entirely your choice however.

After you tap the Done button, you will be returned to the Download Map Regions screen, where you will see a list of the regions you selected on the previous screen, along with the size of the download (the download size may vary slightly to that displayed on the region selection map).
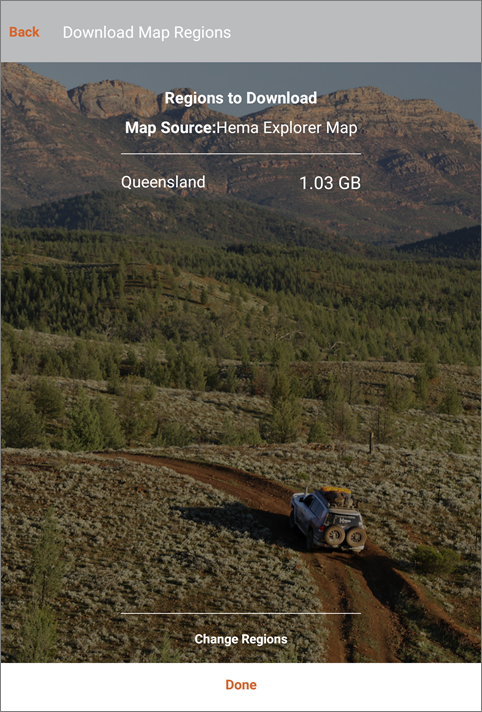
Map Selection Summary screen

Once you are happy with your selection, tap the Done button.

This will queue up the region(s) that you have selected for download. The time taken will vary depending on many factors, including your internet connection quality, quantity of data, etc.

You can view the progress of the queued download(s) in the Downloads panel as shown below:
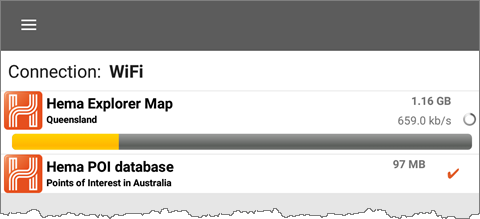
Downloads panel

For Your Information...
Remember, you can return to the region download selection screen at any time to add or remove downloaded regions of the Hema Explorer Map.
You can access it from the Layers panel, Download Map Section, Explorer Map & Data

Creating and logging in to your Cloud account

After your offline map layer downloads are queued, the next step is to create and / or login to your Cloud account.
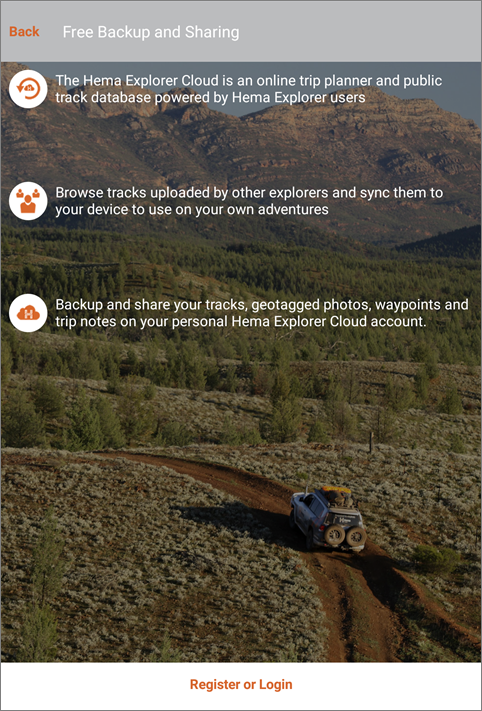
Cloud Account setup

Tap the Register or Login button to start the process.
For Your Information...
You can also create your account directly using the Hema Explorer Cloud. Just go to:

http://cloud.hemaexplorer.com

and create your account. After your account is created, you can sign in to the app using your username and password.

Cloud Account setup

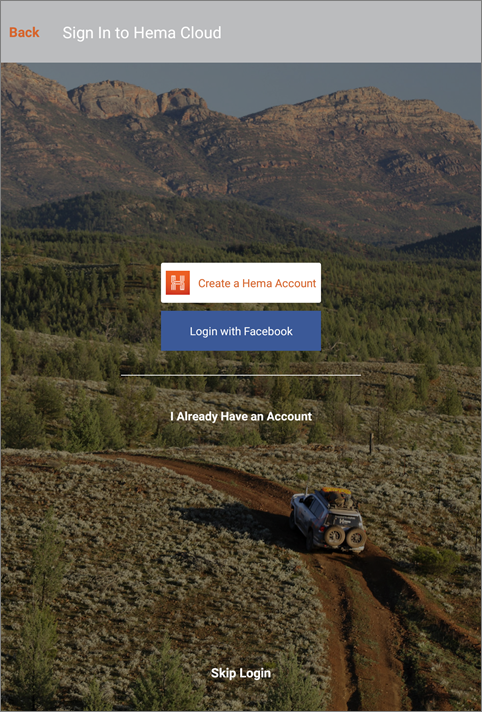
From this screen, you have four options:

  1. Create a new Hema Explorer Cloud account
  2. Login using your Facebook account
  3. Login using your existing Hema Explorer Cloud account
  4. Skip login altogether

Create a new Hema Explorer Cloud account

Creating a new account is as simple as adding your email address (which is used as your Cloud username), and a password.
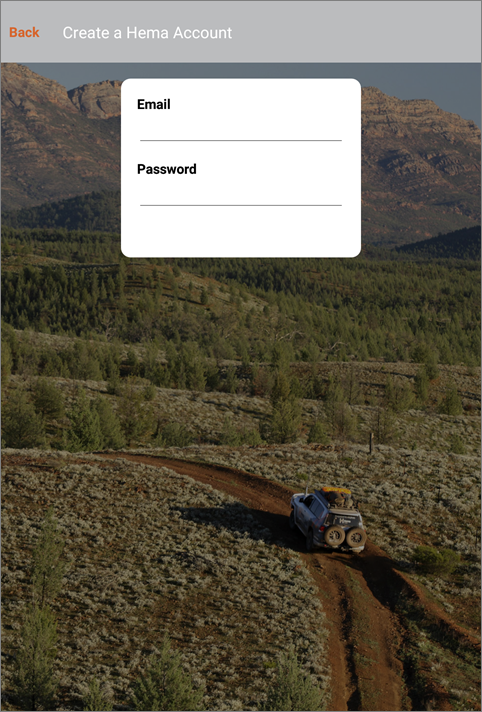
Cloud Account setup

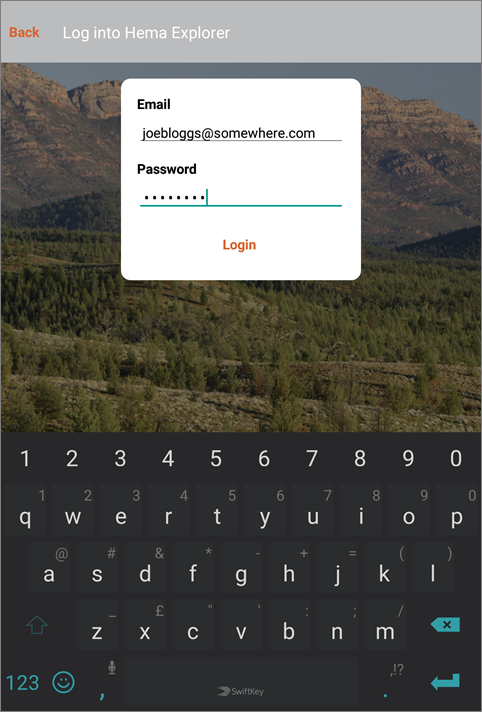
Logging in using your Hema Explorer Cloud account

Once you have created your account, or if you had a pre-existing account, enter your username and password, and tap the Login button.
Note
The login button will not become active until you have entered your password.

Cloud Account setup

Login using your Facebook account

You can login to the app using your Facebook account by tapping the Login with Facebook button.

Skip Login

You can skip creating or logging in to a Cloud account altogether, but we do not recommend doing this.

A Cloud account does not cost you anything extra within the app, and there are many advantages.

Logging into your Cloud account within the app allows you to use the additional features provided by the Cloud, such as auto-sync of your track logs and waypoints.